Here is an instruction show you guide on how to perform firmware update for Xentry diagnosis VCI.
Steps:
Firmware update of the XENTRY Diagnosis VCI may be required after updating the diagnosis computer.
This is displayed to you via a pop-up message. Firmware status information is also displayed in the VCI Manager:
Click the “Update” menu item in the VCI Manager. Click on the “Start update” button.
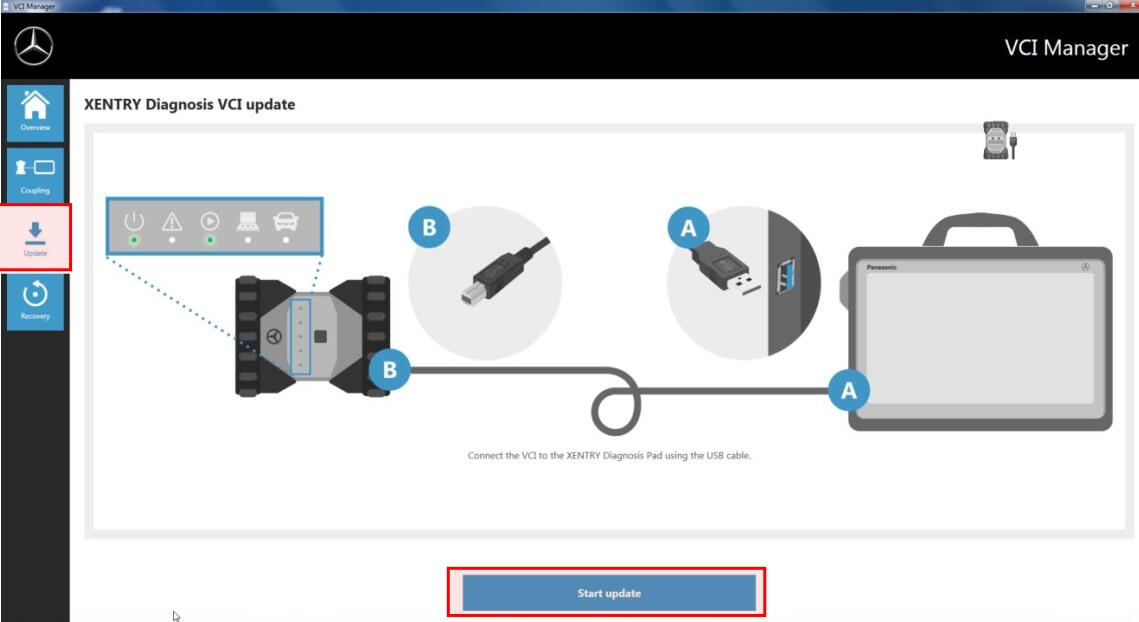
When executing the update, please ensure that the USB connection between diagnosis computer and VCI is not interrupted:
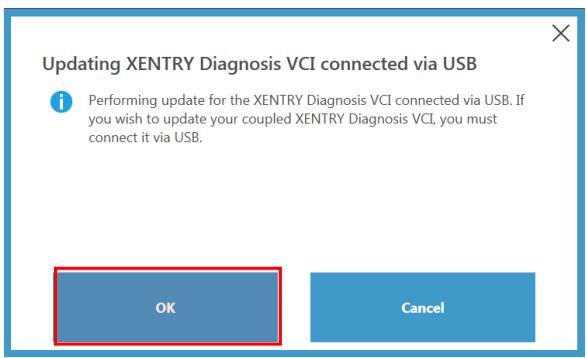
Confirm by clicking on “OK”. The firmware update of the XENTRY Diagnosis VCI will start now.
You will receive a message after executing the firmware update:
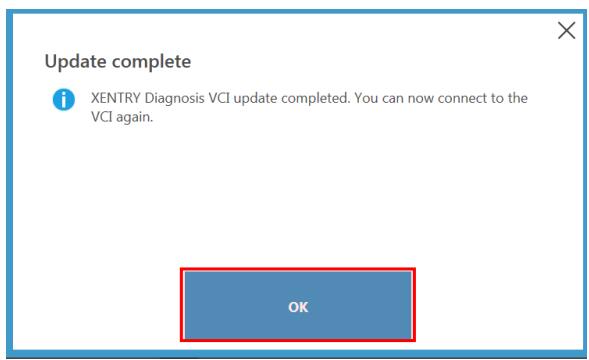
Click on “OK”. Coupling between the diagnosis computer and VCI is confirmed in the next window.
You can continue to work with XENTRY Diagnostics Open Shell as usual.
:: بازدید از این مطلب : 446
|
امتیاز مطلب : 18
|
تعداد امتیازدهندگان : 5
|
مجموع امتیاز : 5


